Exploring OpenVAS
In this lab, we will familiarize ourselves with the OpenVAS vulnerability assessment system.
Setting Up and Starting OpenVAS
OpenVAS is an open source vulnerability scanner provided by Greenbone Networks. It is the most widely uesd open source scanner. More information can be found at https://www.openvas.org/.
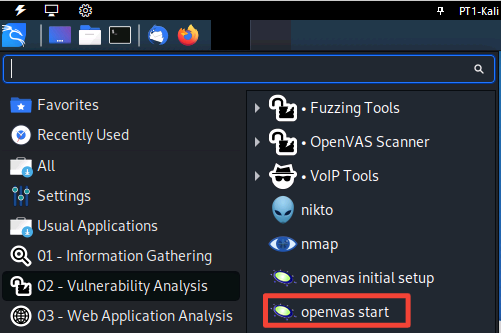
We'll start by clicking the Kali menu icon on the top left and then selecting 02 - Vulnerability Analysis and then selecting openvas start
When we click on OpenVAS, the terminal window pops up and begins the process of launching the OpenVAS service. After a few minutes, we're redirected to a web browser that hosts the OpenVAS login page. OpenVAS uses a web UI to manage the vulnerability scanning process.
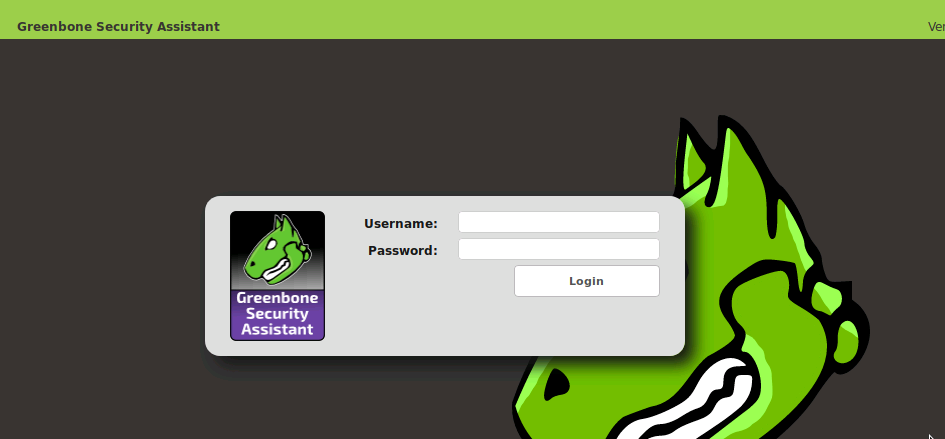
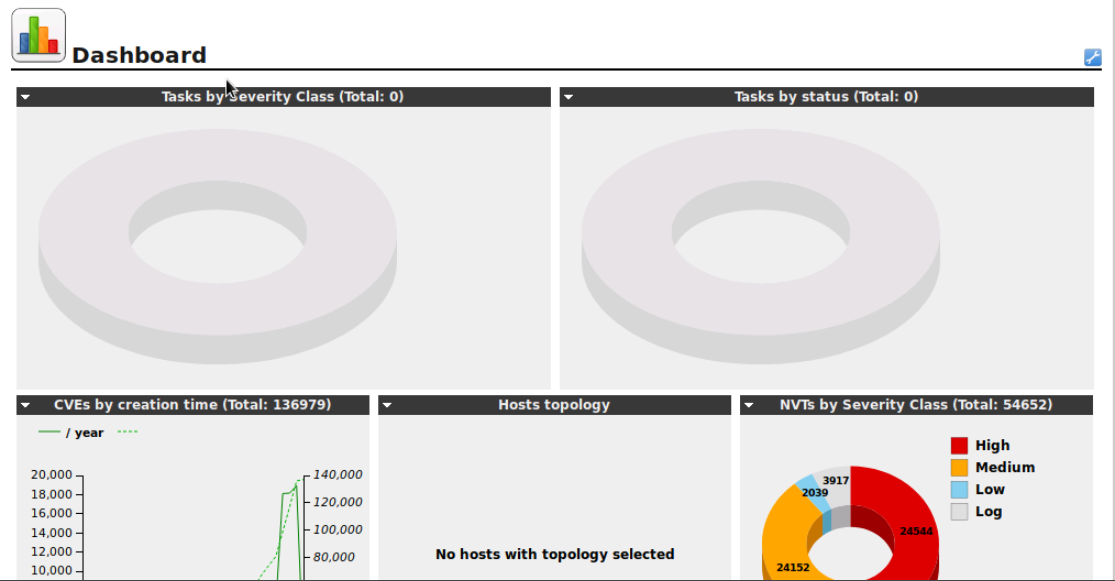
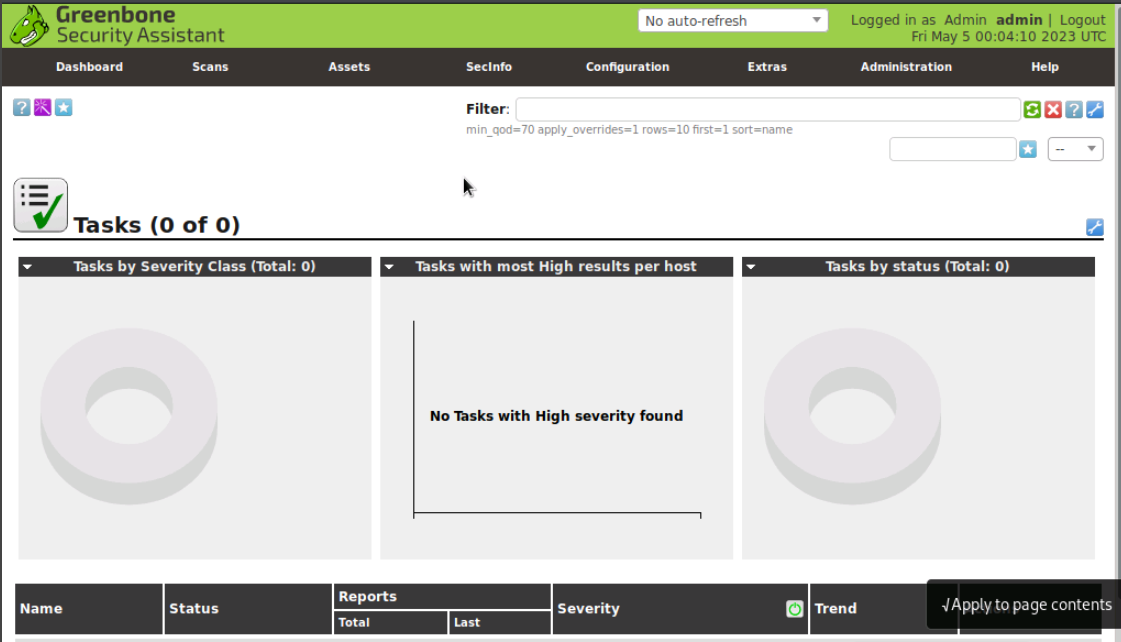
After logging in, we are sent to the Greenbone Security Assistant Dashboard.
Performing an OpenVAS Vulnerability Scan
To start a vulnerability scan in OpenVAS we'll navigate to the Scan Tasks page.
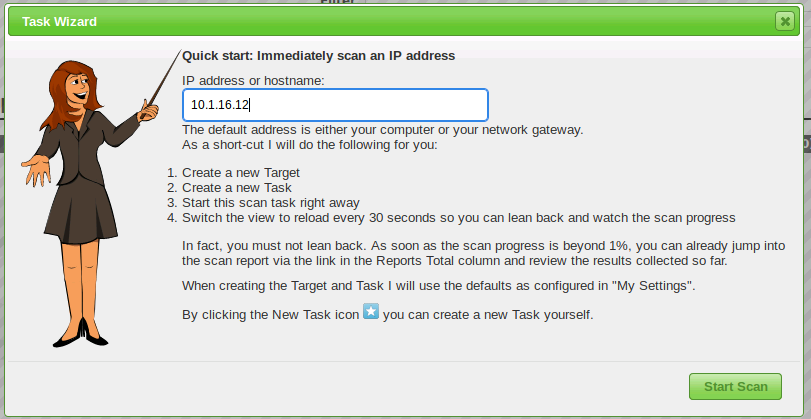
We are going to perform a scan against the LAMP server in the lab environment. It has the IP address of 10.1.16.12 and is located within the server vlan.
On the top left, you'll see a purple icon with a wand in it. We'll click on that and enter the ip address into the task wizard and click start scan.
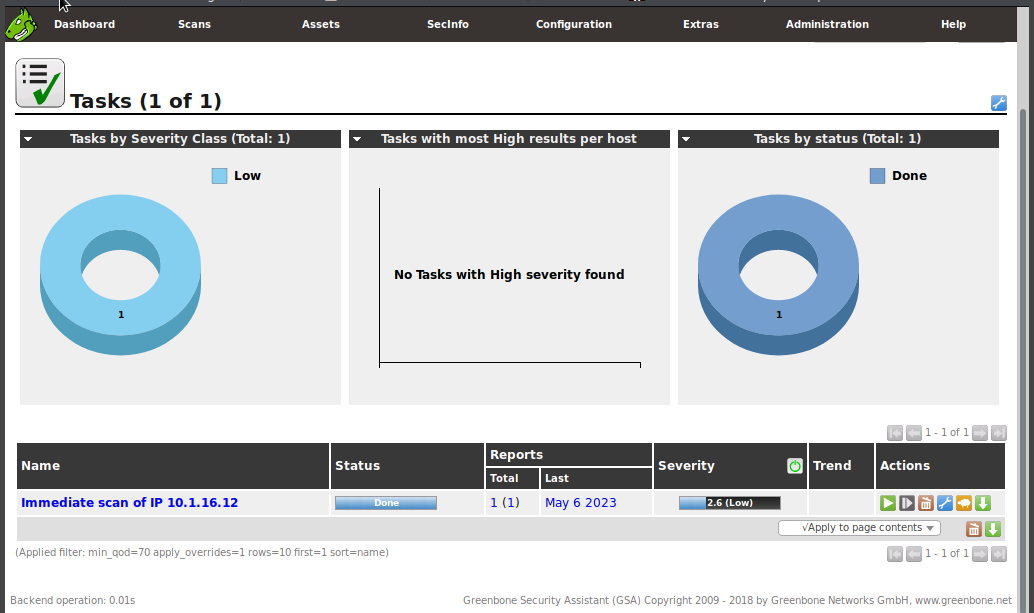
Clicking start scan takes us back to the tasks screen. After a short time the browser will refresh and we will see that the scan has started and is running. If we scroll down to the bottom of the page we will see the progress. The scan may take a while to complete as OpenVAS runs a large number of tests and checks against our target system and any services it finds there. When the scan is complete, you'll see the following screen.
OpenVAS Scan Results
OpenVAS compiles a very detailed report of any vulnerability scan you perform and any vulnerabities it finds during the scan. To view the report of the scan on our LAMP target, we'll click the date under the Last category of the Reports section found at the bottom of the screen. This will take us to a Report: Results page showing initially any vulnerabilities found. In this case, we will only see one vulnerability.
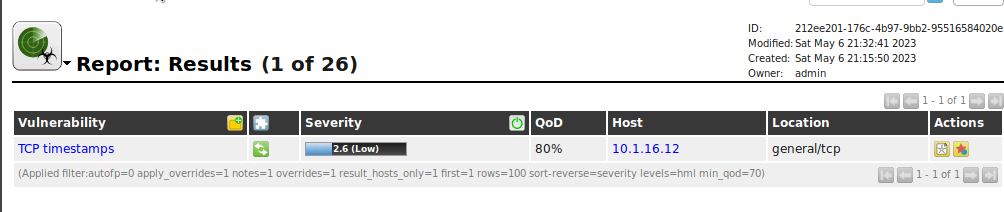
If we point our mouse to where it says Report: Results (1 of 26) we will see a drop down menu appear. This would let us dive deeper into some of the findings such a Operating System, etc. For now let's look at the TCP timestamps vulnerability the scan found.
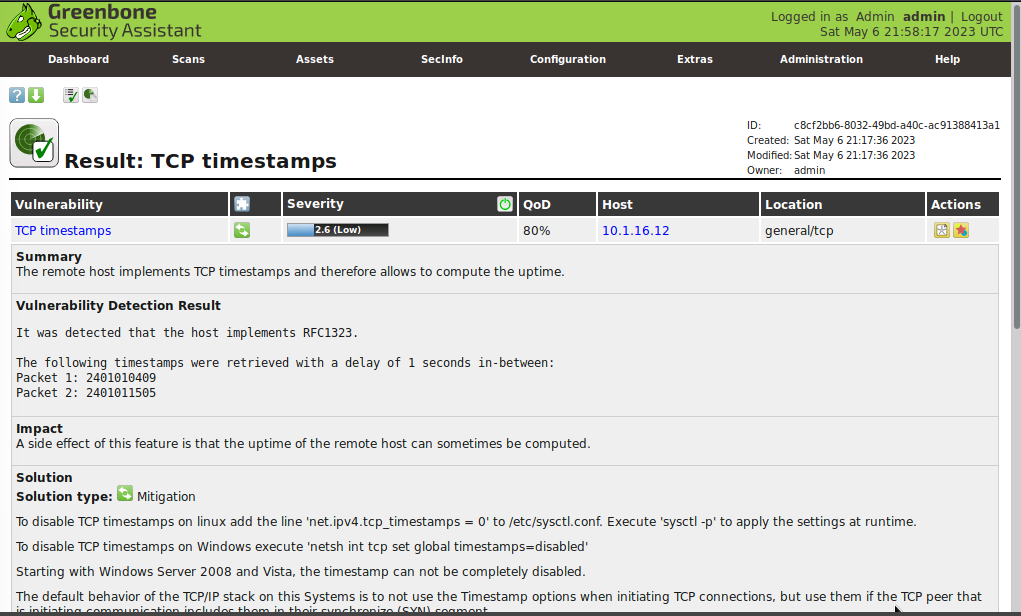
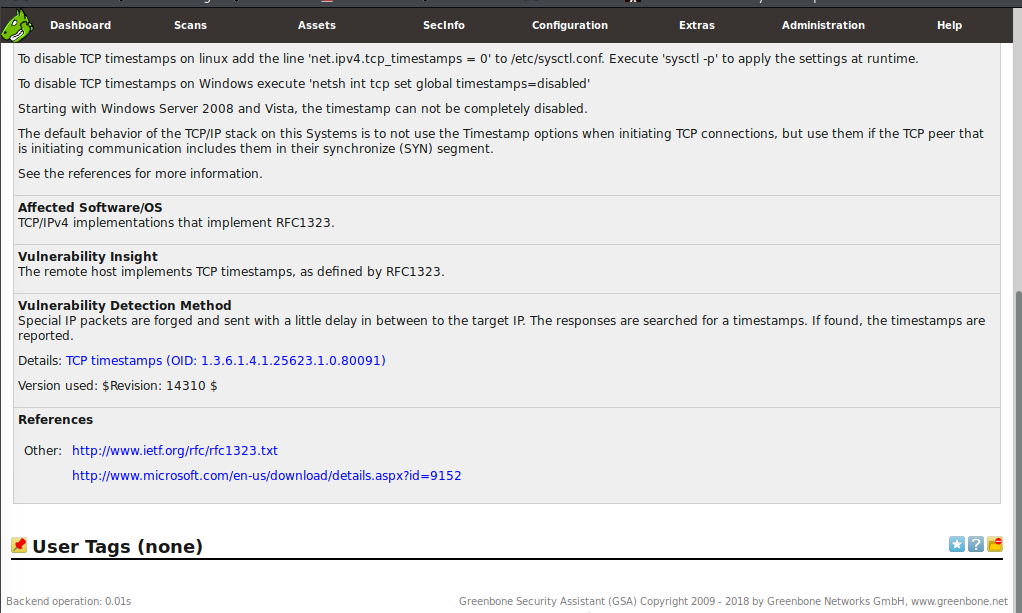
Here, we will notice that this page provides much more detail on the vulnerability including what it could be used for and even mitigation techniques. If we scroll down to the bottom of the page we'll see much more detail is provided and there are even links to additional information. If appropriate these will link to CVE reports and even sometimes proof of concept code that security researchers have shared related to the vulnerability.
Our target only had one vulnerability and seems fairly secure.
Conclusion
The OpenVAS vulnerability assessment system is a powerful tool that enables us to identify potential security weaknesses in our systems. During this lab, we familiarized ourselves with the setup and operation of OpenVAS, as well as the process of performing a vulnerability scan against a LAMP server.
We were able to identify a single vulnerability related to TCP timestamps, and the system provided detailed information on the vulnerability, including potential impacts and mitigation techniques.
0 Comments Add a Comment?